
Beginner’s Guide 2020: How to use Trezor Wallet
Reading Time: 3 minutes
With the upward trend in Bitcoin price over the past few weeks, it’s inevitable for there to be a growing interest in cryptocurrency. If you’re looking to invest in your first coins (thanks to the positive Bitcoin price prediction, XRP price prediction, and more in the coming years), it’s important to pick the best crypto wallet that’s trusted and secure to store your funds.
Trezor exclusively makes variations of the Trezor wallet, a mix between hardware and software to ensure the highest level of security. Apart from being backed by high-level encryption–so that nobody else can access your funds–the Trezor wallet also offers a stunning UI where you can manage your coins with ease.
While Trezor offers two wallets, the Trezor One and Trezor Model T, we’ll show you how to use Trezor wallet One–the classic altcoin and Bitcoin hardware wallet that’s used all over the world.
How to Set-Up Trezor?
The Trezor wallet setup is relatively simple, but there are multiple steps necessary to protect your funds. Before setting up Trezor One, it’s important to ensure that your device was purchased from a reliable source: the official website. The box should be sealed with a silver holographic sticker, indicating that it has not been opened or tampered with. This step is crucial–you don’t want to use a secondhand device as you could risk losing your funds.
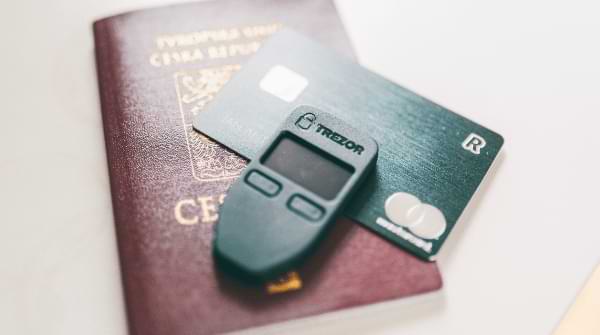
Inside the box, you will find the Trezor hardware wallet (the Trezor One), a USB cable, Recovery Seed Cards, a Lanyard, stickers, and a “Getting started” booklet. The Trezor setup process is outlined below.
-
Connect your Trezor to your computer using the USB cable provided.
-
Once connected, a Trezor window will pop-up. It contains a link that will redirect you to the official website. Click the link and select your device model.
-
Next is the Trezor Bridge download. It’s an application that will allow your device to connect with supported browsers. That way, you can connect your wallet to the internet and unlock functions for sending and receiving coins.
-
You will be asked to select a PIN unique to your device. Trezor recommends PINs to be 4-6 digits, without repeating any number. The process is secure–you can input your PIN with an obscured numerical pad displayed on the screen.
-
Install the latest firmware and create a wallet.
-
Create a backup and save your recovery seed in a safe place only you can access.
-
Complete your Trezor wallet setup by giving your device a name and personalising the home screen to give it a special touch.
How to Use Trezor One?
Once you’ve set up your Trezor wallet, it’s time to start using the device. Trezor’s easy-to-use interface allows you to control your crypto assets, manage your accounts, and initiate transfers to others. If you’ve been wondering what coins does Trezor accept, you can find the full list on their website.
-
Receiving cryptocurrency. To receive cryptocurrency–whether a payment or friendly transfer–into your Trezor One, select the specific transaction and click “receive.” The coins will then reflect on your account. You can also click the “show address” button to generate a wallet address. Others will need that address to send cryptocurrency to you.
-
Sending cryptocurrency. To send cryptocurrency assets to others, select the specific cryptocurrency and amount you want to send, and choose the transaction fee. It’s a given that you must own that particular coin or token, and must have the appropriate balance or the transaction won’t push through. You’ll also need the receiver’s wallet address, which you should verify and double-check as the long string of characters can be a huge cause for mistakes. The receiver’s wallet doesn’t have to be from Trezor–it can be any wallet that can receive cryptocurrency.
Trezor supports over 1000 coins and tokens. You can switch between currencies on your device by choosing from a drop-down menu on the upper-left hand corner of the interface.


Leave a Reply
2 comments
Add comment ×